HOME   ABOUT   EVENTS   BOOKS   SHOP   RECIPES   LINKS

Showing posts with label onion. Show all posts

LACTO-FERMENTED TOMATO SALSA


Colourful and full of fresh tomato flavour – it’s easy to make this live culture condiment at home!
 
Ingredients for  LACTO-FERMENTED TOMATO SALSA
 
Yield: 4 cups
Tomatoes, Fresh, Firm
450g
Yellow Capsicum
1
Onion, Brown or White
1
Jalapeno, Fresh (Optional)
1
Garlic Cloves
2-3
Salt, Non-Iodised
1 1/2 teaspoons
*After fermenting, you will also need: freshly squeezed juice from 2 limes
and a small handful of fresh coriander leaves, if desired.
 
METHOD:
1.  Rinse tomatoes, capsicum and jalapeno (if adding) and drain.
2.  Remove stems and seeds.
3.  Finely dice tomatoes, capsicum and onion. Finely mince jalapeno and garlic.
4.  Measure tomatoes, capsicum, onion, jalapeno, garlic and salt into a clean 1 litre (quart/4 cup capacity) glass jar, filling the jar up to 2-3cm from the rim. Mix well.
5.  Weigh salsa down to keep them submerged during fermentation.
6.  Cover jar with a hinged lid  OR  airlock lid. Set aside on the bench to ferment at room temperature for 3-7 days or until desired flavour has been reached.
Remember to stir daily with a plastic spoon, and release any gas from the jar daily if using a hinged jar.
7.  Taste the salsa. When you like the flavour, add the freshly squeezed juice from 2 limes
and a small handful of fresh coriander leaves (if desired). Stir to combine, reseal jar with an airtight lid and store in the refrigerator.
8.  Enjoy your fermented tomato salsa immediately, or set aside in the refrigerator and consume within 4-5 months. 
Drain before serving for a thicker salsa, adding brine in a small amount until desired consistency. For a smoother consistency, blend salsa for a few seconds.
Remember to release any gas from the jar that has built up, even whilst being refrigerated.
  
NOTE:
o   Use garden, roma or cherry tomatoes for this recipe – we de-seed them (and remove the excess tomato water from garden varieties so the salsa isn’t too runny).
o Going to blend the salsa into finer/sauce-like consistency? You can ferment the ingredients as larger pieces in the jar instead of spending time chopping them up in the first few steps of this recipe. Add ingredients to jar, including salt and ensure vegetables are covered with filtered water (preferably weighed down too) during the fermentation period. Then drain vegetables, add coriander/lime juice and blend until it’s a smooth puree (or as desired).
  
Author: Megan Radaich          
Image Credit: Megan Radaich          
Publication: www.foodpreserving.org

PICO DE GALLO SALSA


“peek-oh duh-guy-oh”
   
Entertaining is easy with this classic chunky salsa! It’s simple to make, fun to say and delicious to eat with tortilla chips or served alongside other Mexican dishes. Preserve your garden fresh tomatoes to enjoy all year long with this quick salsa recipe. 
   
Ingredients for PICO DE GALLO SALSA

Yield: 3-4 cups
Yield: 7-8 cups
Plum (Roma) Tomatoes
450g (1 pound)
900g (2 pounds)
White Onion
1/2 cup
1 cup
Lime Juice (Bottled)
1/4 cup
1/2 cup
Jalapeño Chillies
1/2 - 1
1-2
Fresh Coriander (Cilantro)
1 tablespoon
2 tablespoons
Salt, Finely Ground
1/2 teaspoon
1 teaspoon
   
WARNING: Before handling chillies, wear plastic or rubber gloves. Do not touch your face or eyes whilst handling and/or cutting chillies.
   
METHOD:  
1. Sterilise all equipment by washing in hot soapy water and rinsing well before use.
2. Wash, core, halve, de-seed and dice tomatoes finely
(TIP: use a food processor). Peel and finely dice onion. Wash, remove stalks, halve, de-seed and finely dice chillies. Rinse coriander leaves and chop coarsely. 
3. Cover jars with water and bring to a boil, boiling for 10 minutes. Once the time is up, turn the heat off and leave jars in the hot water until ready to fill. 
4. Place lids into a bowl of boiled water. Remove the lids from the water when you are ready to place them onto the jars to seal.  
5. Combine all ingredients in a large pan. Mix well. 
6. Bring salsa mixture to a boil. Reduce heat and simmer for 3 minutes.
7. Ladle the hot salsa into the hot jars, filling to 1cm (1/2 inch) from the rim.
8. Using a non-metal utensil, remove any air pockets and add more salsa if required to correct headspace.
9. Wipe rims with a clean, damp cloth to remove any food residue.
10. Add pre-warmed lids and twist to secure.
11. Place sealed jars into a pot of boiling water and boil for the processing time stated below. Start the timer once the water comes to a full boil.
12. Turn off the heat source once the time is up. Remove jars from hot water after 5 more minutes. Cool jars overnight on a heatproof surface. Do not adjust lids during this time.
13. The next day, check jars have sealed before labelling and dating.
14. Store jars of pico de gallo salsa in a cool, dark and dry place for up to 12 months. Jar lids should not flex up or down when pressed. 
15. Refrigerate jars upon opening and consume contents within 1 week.
   
Processing Time for PICO DE GALLO SALSA in a Boiling Water Canner
Jar
Size
Altitude
≤ 1,000 feet
Altitude
1,001 - 3,000 feet
Altitude
3,001 - 6,000 feet
Altitude
≥ 6,000 feet
Hot Pack
≤ 500ml
(pints)
15
minutes
20 minutes
20 minutes
25 minutes
   
NOTES:
o Do not alter the proportions of ingredients in this recipe to ensure a safely canned product;
o Roma (plum) tomatoes are best for this recipe, because they’re meatier than regular garden (round) tomatoes, but cherry tomatoes or regular tomatoes can also be used (salsa will be runnier)
o Ensure tomatoes are bright in colour and fully ripe;
o Discard tomato seeds to remove any bitter aftertaste from your salsa;
o You could use red onion in this recipe instead of white onions, if you like;
o Bottled lemon juice can be used instead of bottled lime juice in this recipe;
o Chillies are optional but add a lovely heat! You can use a hotter chilli variety if desired;
o Choose salt that does not have any additives;
o If you have leftover salsa from bottling, store it in the refrigerator and enjoy it fresh (consume within 7 days).
   

SERVING IDEAS: 
o Burritos (and burrito bowls)
o Corn/tortilla chips;
o Enchiladas;
o Fajitas;
o Quesadillas;
o Salad dressing
o Serve with cooked shrimp/prawns and fresh avocado
o Tacos;
o Taquitos;
o Tostadas.

Author: Megan Radaich           
Image credit: Megan Radaich          
Publication: www.foodpreserving.org

LEARN MORE FROM OUR FOOD PRESERVING GUIDES

CHILLI PLUM SAUCE

YIELD: 9 cups per batch  
    
A delicious, spicy, fruity plum sauce perfect for use as a marinade for chicken or pork, or grilled or stir-fried with noodles and vegetables....  
    
INGREDIENTS:
1.8kg (4 pounds) plums 
3-4 chillies, or to taste (de-seed if desired), minced 
2 cups brown sugar 
1 cup sugar 
1 cup finely diced onion 
2 tablespoons yellow mustard seeds 
1 teaspoon ground ginger 
1 tablespoon salt 
1 finely minced garlic clove 
1 cup apple cider vinegar 
    
METHOD:
1. Wash plums, drain well. Remove stems, blemishes and cut in half to remove stones. Dice finely. Add into your preserving pan with the other ingredients.  
2. Bring fruit mixture to a boil, then simmer uncovered until thick. Remove from heat.  
3. Cover jars with water and bring to a boil, boiling for 10 minutes. Once the time is up, turn the heat off and leave jars in the hot water until ready to fill. 
4. Place lids into a bowl of boiled water. Remove the lids from the water when you are ready to place them onto the jars to seal.  
5. Immediately spoon the hot plum sauce into hot jars, leaving a 1/4 inch (0.5cm) headspace. Remove bubbles, check headspace is correct, and then wipe rims and seal.  
6. Process in a boiling water bath canner for 20 minutes (start timer once water returns to a full boil). When time is up, turn heat off and rest jars in water for 5 minutes before placing onto a towel-covered bench overnight to cool. 
7. The next day: check jars have sealed before labelling and storing in a cool, dry and dark place for up to 12 months. Jar lids should not flex up or down when pressed. 
   
NOTES:  

  • You can do a low/no-sugar version of this fruit sauce using honey, minimal sugar or Stevia.  
  • Add a nip of Port, Brandy or Raspberry Liqueur (or try a red wine); 
  • Add a vanilla bean; 
  • Add other flavouring i.e allspice, black pepper, cinnamon, cloves, ginger, lemon, nutmeg, orange.

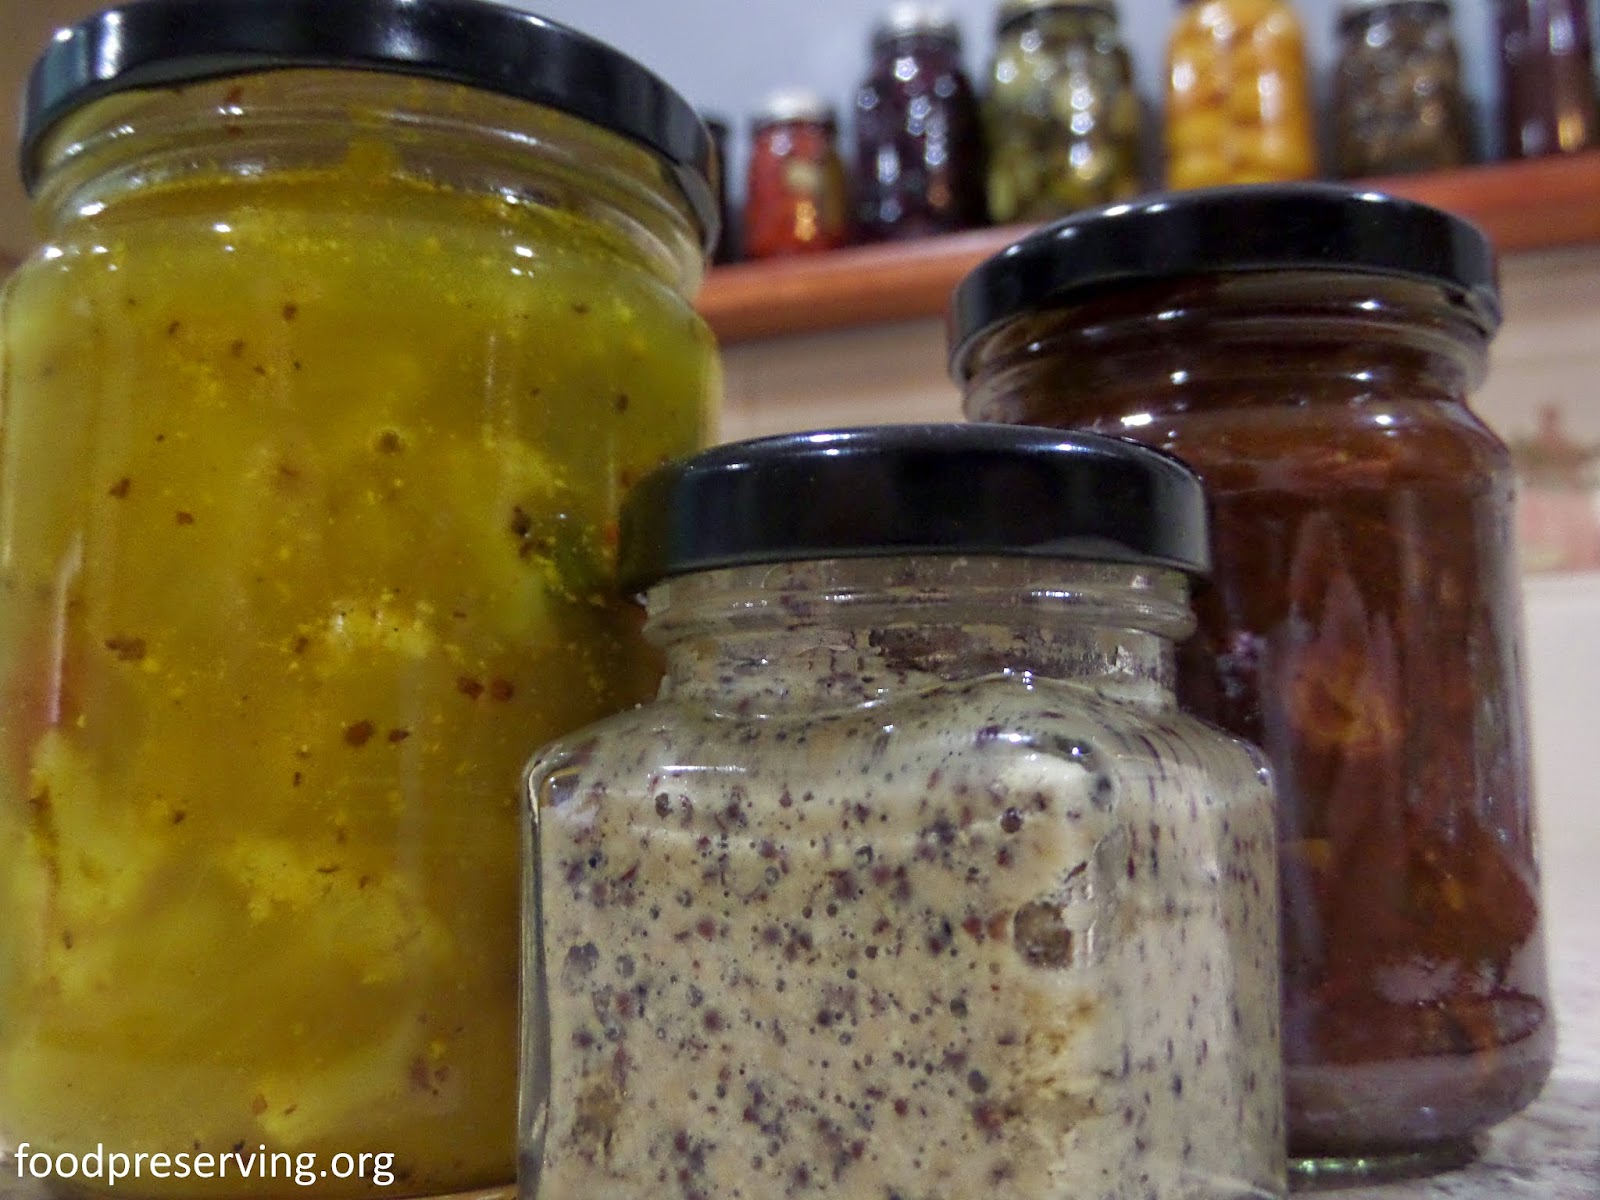
MUSTARD CAULIFLOWER PICKLES


Sweet mustard cauliflower pickles – perfect for serving as part of an antipasto platter with crusty bread, olives and sliced meat or slathered into a sourdough sandwich with roast beef.
 
Ingredients for  MUSTARD CAULIFLOWER PICKLES

Yield: around 8 cups
Cauliflower, Fresh
900g (2 pounds), cut into small florets (1cm / 1/2 inch)
Green Beans, Fresh
450g (1 pound), cut into pieces (2cm / 3/4 inch)
Onion, Brown or White
4 cups wedges (1cm / 1/2 inch wide)
Red Capsicum
2 cups diced (1cm / 1/2 inch)
Water
4 cups (for cooking)
Salt
1 teaspoon (for cooking)
Apple Cider Vinegar
4 cups (minimum 5% acidity)
Sugar, Brown
1 cup (optional)
1/4 cup
Wholegrain Mustard
1/4 cup
Mustard Powder
1 tablespoon
Curry Powder
1 tablespoon
Ground Turmeric
1 teaspoon
*If Thermflo/ClearJel is not available, leave out of recipe. Do not add any other thickeners.

METHOD:
1.   Clean jars (or bottles) and equipment by washing in hot soapy water and rinsing well before use.
2.   Prepare jars (if they require pre-heating, i.e. twist top jars) in a pot lined with a cloth. Cover jars with water and bring to a boil, boiling for 10 minutes. Once the time is up, turn the heat off and leave jars in the hot water until ready to fill.
3.   Simmer cauliflower, beans, onion and capsicum in salted water for 3 minutes. Drain.
4.   Combine vinegar, brown sugar, Thermflo, mustard, curry and turmeric in a large pan. Whisk to combine. Bring to a boil and simmer for 2 minutes. Add the vegetables and bring mixture to a boil. Boil until thickened slightly (if required). Remove from heat.
5.   Place lids into a bowl of boiled water. Remove the lids from the water when you are ready to place them onto the jars to seal. 
6.   Remove jars from hot water and place onto a heatproof surface i.e. tea towel. Pack hot pickle mixture into hot jars, leaving 1/2 inch (1cm) headspace.
7.   Remove bubbles, check headspace is correct.
8.   Wipe jar rims with a clean, damp cloth to remove any food residue.
9.   Remove lids from hot water and seal jars i.e. twist to secure “fingertip tight”.
10. Return jars of mustard cauliflower pickles into the pot of boiling water and boil for the processing time stated below. Start the timer once the water comes back to a full boil.
11. Turn off the heat source once the time is up. Remove jars from hot water after 5 more minutes. Cool jars overnight on a heatproof surface i.e. wooden board or towel. Do not adjust lids during this time.
12. The next day, check jars have sealed before labelling and dating clearly.
13. Store jars of mustard cauliflower pickles in a cool, dark and dry place (i.e. pantry) for up to 12 months. Jar lids should remain tightly sealed during storage, and not flex up or down when pressed (which indicates jar seal failure, do not consume).
14. Refrigerate jars upon opening and consume contents within 1-2 weeks.
 
Processing Time for  MUSTARD CAULIFLOWER PICKLES  in a Boiling Water Canner

Jar
Size
Altitude
≤ 1,000 feet
Altitude
1,001 - 3,000 feet
Altitude
3,001 - 6,000 feet
Altitude
≥ 6,000 feet
Hot Pack
≤ 500ml
(pints)
10
minutes
15 minutes
15 minutes
20 minutes

NOTES:
o    Other vinegar can be used (minimum 5% acidity);
o    Capsicum can be left out, if desired;
o    Use firm, fresh, stringless green beans for the best texture;
o    Open 1-2 months after (or longer) for best flavour.
 
Author: Megan Radaich          
Image credit: Megan Radaich          
Publication: Vinegar Pickling Guide, available HERE
       
Acknowledgement 
Kaya Wanjoo. Food Preserving kaditj kalyakoorl moondang-ak kaaradj midi boodjar-ak nyininy, yakka wer waabiny, Noongar moort. Ngala kaditj baalap kalyakoorl nidja boodjar wer kep kaaradjiny, baalap moorditj nidja yaakiny-ak wer moorditj moort wer kaditj Birdiya wer yeyi.
Hello and Welcome. Food Preserving acknowledges the Traditional Custodians of the land on which we live, work and play, the Nyoongar people. We recognise their connection to the land and local waterways, their resilience and commitment to community and pay our respect to Elders past and present.
 
Copyright © 2026 Megan Radaich. All rights reserved.
Except as permitted under the Australian Copyright Act of 1968, no other part of this website may be reproduced or utilised in any form by any means, electronic or mechanical, including photocopying, recording, or by any information storage and retrieval system without written permission from the author. Disclaimer